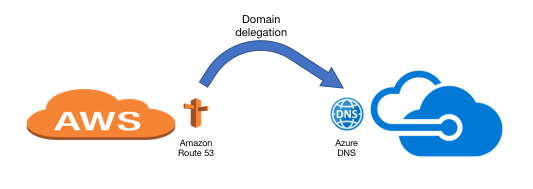
In this post, we will see how you can delegate your DNS domain from AWS to Azure.
First let’s discuss few basic things about the AWS and Azure services that will allow us to do this.
Amazon Route 53 is the AWS service that allows three functions to be performed:
- Domain names registration – allows the user to register(purchase) a domain name of choice
- Route traffic to domain’s resources – allows to return the IP address of the DNS zone to the DNS resolver
- Domain resources health check – allows the availability and reachability checks of the domain resources
Azure DNS is the Microsoft service that allows the user to perform roughly the same functions as Amazon Route 53.
There is no major functional difference between the two services.
If your entire cloud infrastructure is on AWS then there is no point to delegate a/any DNS domains to Azure.
But if you decide at one moment that you need to use Azure services instead of AWS services(that might be due to lack of services on AWS that can impact business development or cost wise decision), then you will have to migrate or create identical resources on Azure services.
One of these resources can be the DNS zones as it makes sense to manage your entire infrastructure from a single point and avoid having to pay two separate bills.
We will see how you can delegate a DNS domain that was registered using Route 53 to Azure DNS.
The DNS domain that we will work with is awswork.com.
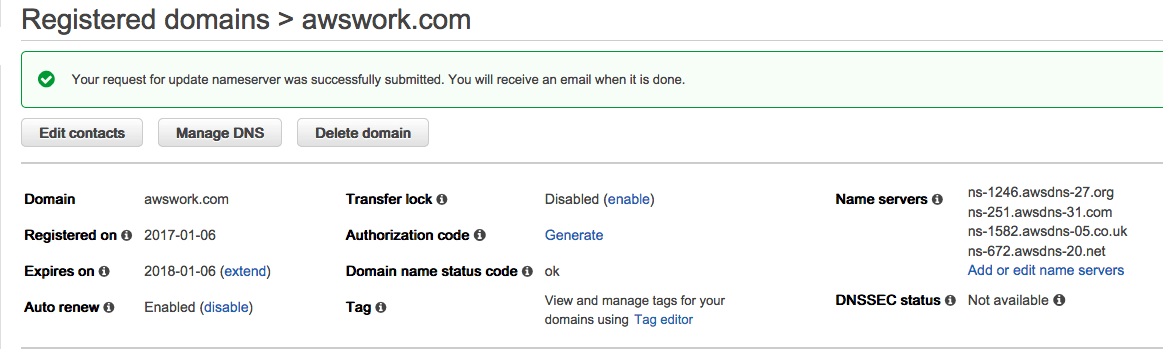
The domain has been registered using Route 53 couple of months ago:
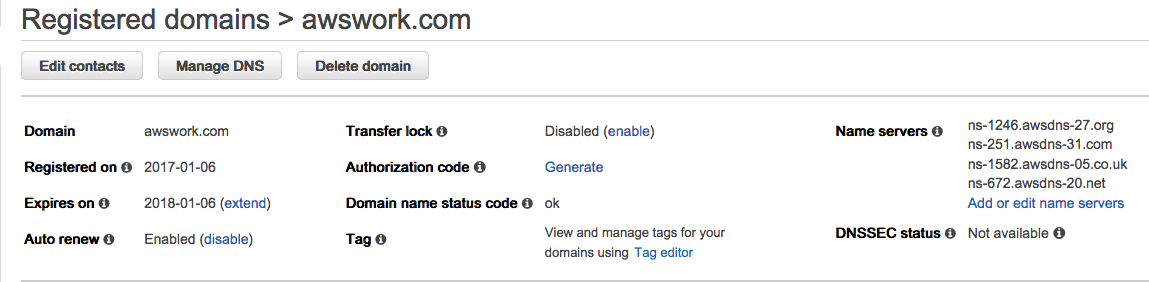
As you can see the name servers for this domain are pointing to something from AWS. As a matter of fact, they are assigned automatically when you register a domain using Route 53.
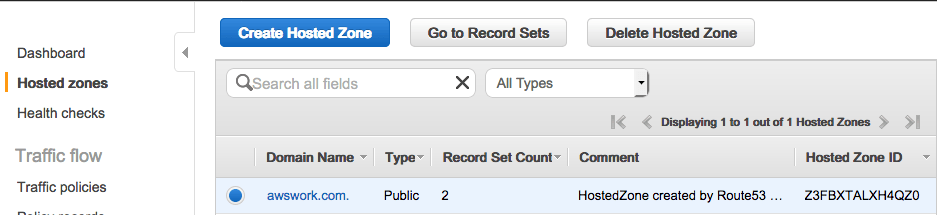
Route 53 was used to create the hosted zone for this domain:
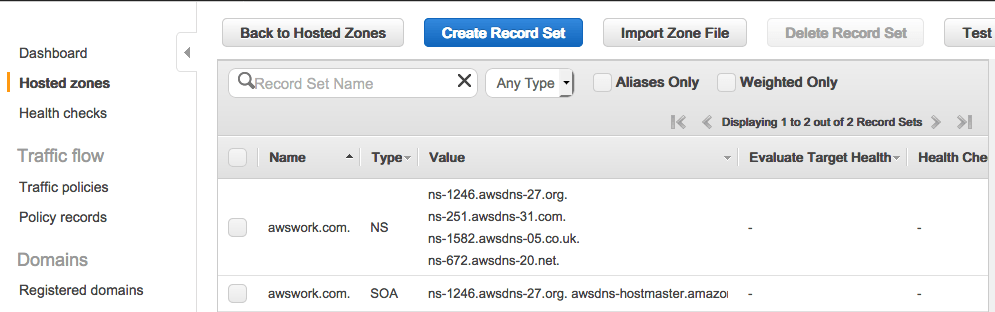
And there are the two automatically resource records: the NS and SOA:
Let’s see how different DNS resolvers from Internet see the content of this zone hosted on Route 53. We will use a private server that recursively use Google DNS servers:
admin@UBUNTU:~$ nslookup -type=SOA awswork.com
Server:        192.168.143.60
Address:    192.168.143.60#53

Non-authoritative answer:
awswork.com
    origin = ns-1246.awsdns-27.org
    mail addr = awsdns-hostmaster.amazon.com
    serial = 1
    refresh = 7200
    retry = 900
    expire = 1209600
    minimum = 86400

Authoritative answers can be found from:

admin@UBUNTU:~$ nslookup -type=NS awswork.com
Server:        192.168.143.60
Address:    192.168.143.60#53

Non-authoritative answer:
awswork.com    nameserver = ns-251.awsdns-31.com.
awswork.com    nameserver = ns-672.awsdns-20.net.
awswork.com    nameserver = ns-1582.awsdns-05.co.uk.
awswork.com    nameserver = ns-1246.awsdns-27.org.

Authoritative answers can be found from:

admin@UBUNTU:~$
As you can see this information matches the content of the zone from Route 53.
As we need to inform the world that Azure DNS will be responsible for resolving this domain, we need to create the DNS zone for the domain.
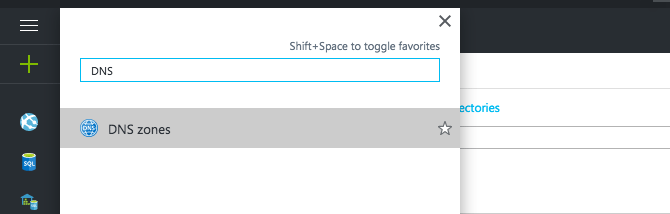
From the list of Azure services, select “DNS zones”:
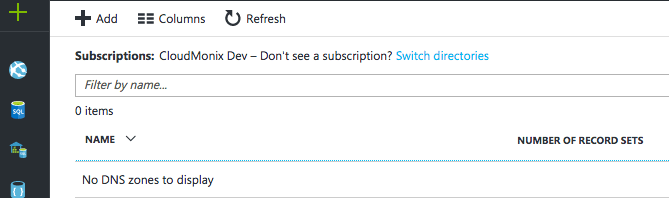
Next we need to add a DNS zone. Click on “Add”:
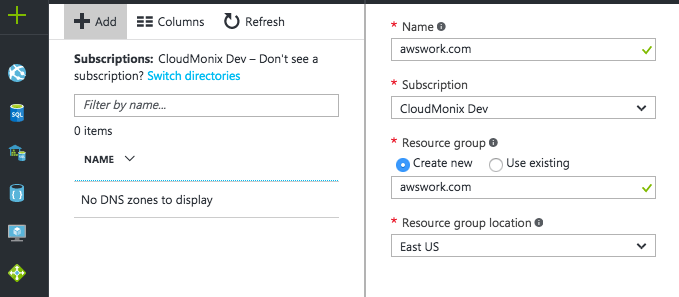
Fill in the details like the name of the domain along with the other details that are not specifically related to DNS zones, but are required and press “Create”:
As you can see, the DNS zone was created and two default record sets were created. These are the NS and SOA entries:

Let’s examine closer the NS entry as we will need the name servers that Azure DNS allocated to use them to update the information on Route 53 registrar:
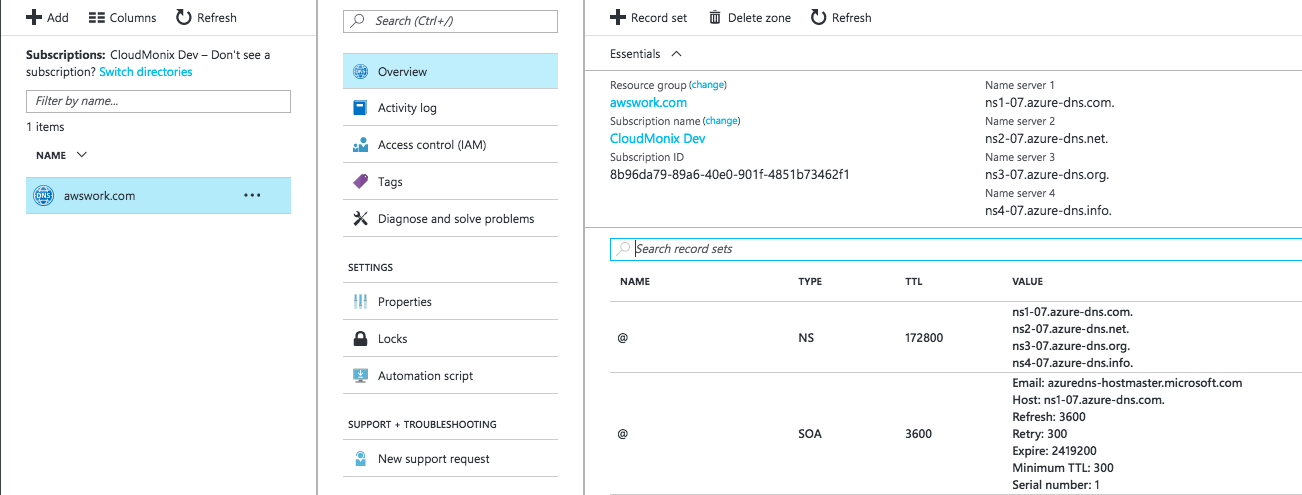
In this case they are ns1-07.azure-dns.com. , ns2-07.azure-dns.net. , ns3-07.azure-dns.org. and ns4-07.azure-dns.info. But they can be different if we are going to create another DNS zone.
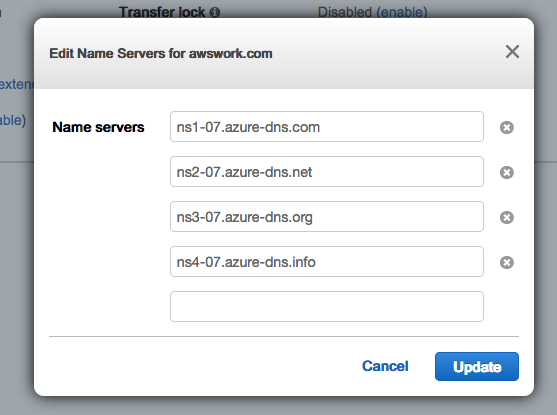
Now we need to move back to “Registered domains” section from Route 53 and edit the Name Servers section to use the Name Servers provided by Azure. Fill in the Name Servers and click on “Update”. Azure recommends that you use all the four Name Servers provided.
Once you update the Name Servers list and the request was successfully submitted, you will be informed that a confirmation email will be sent when the change will be done:
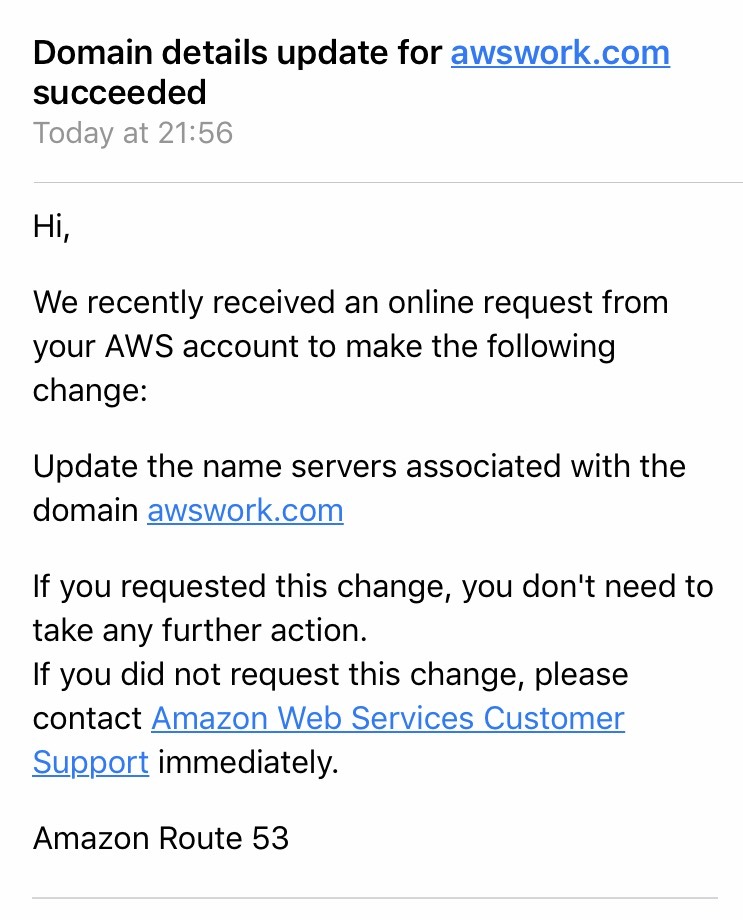
And indeed, the confirmation email arrives:
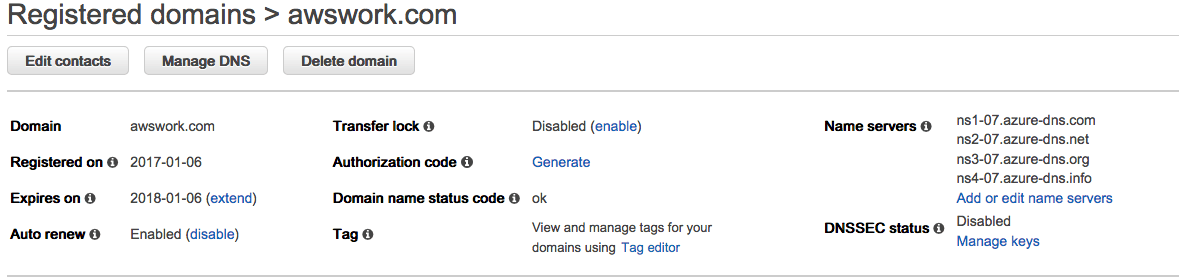
We can check one more time the “Registered domains” section and the Name Servers section will show up the Azure Name Servers:
Let’s find out how other DNS servers from the Internet see which are the Name Servers and SOA entries for this domain. We will use the Google DNS server:
> nslookup -type=NS awswork.com 8.8.8.8
Server:        8.8.8.8
Address:    8.8.8.8#53

Non-authoritative answer:
awswork.com    nameserver = ns1-07.azure-dns.com.
awswork.com    nameserver = ns2-07.azure-dns.net.
awswork.com    nameserver = ns3-07.azure-dns.org.
awswork.com    nameserver = ns4-07.azure-dns.info.

Authoritative answers can be found from:

> nslookup -type=SOA awswork.com 8.8.8.8
Server:        8.8.8.8
Address:    8.8.8.8#53

Non-authoritative answer:
awswork.com
    origin = ns1-07.azure-dns.com
    mail addr = azuredns-hostmaster.microsoft.com
    serial = 1
    refresh = 3600
    retry = 300
    expire = 2419200
    minimum = 300

Authoritative answers can be found from:

>
As you can see, the output matches the content of the DNS zone hosted in Azure and the Name Servers that we used with Route 53.
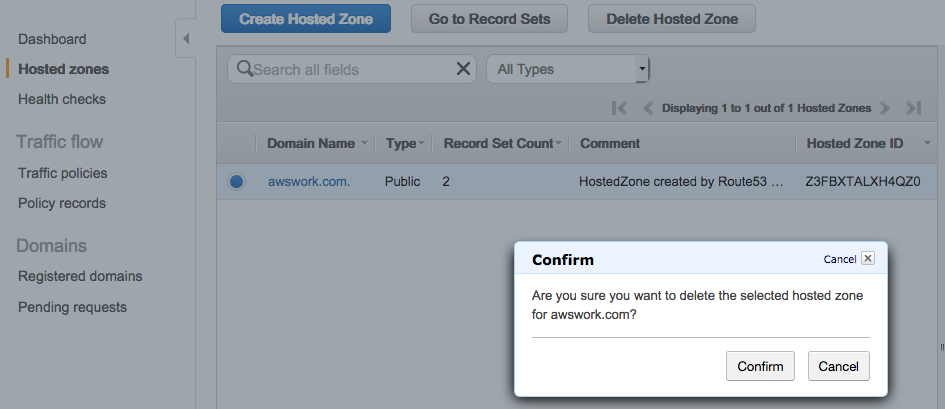
You can safely delete the hosted zone from Route 53 for this domain:
And this would be all about what needs to be done to delegate a DNS domain from AWS to Azure.
From this point on, you can go ahead and create other record sets based on your needs.
Throughout the post we discussed about Amazon Route 53 and Azure DNS services that allow the possibility to route Internet traffic to the zone resources, we saw how to create a DNS zone and what is the information needed from Azure DNS zone to update the name servers of the domain registered with Amazon Route 53.
Reference:


Leave A Comment